After completing the setup of the nessusd, mysqld and sendmail services, we'll finally be able to setup and run Inprotect.
Note
We strongly encourage one to setup the ntpd service as well so that the system will be time synchronized. You can find the button for this in the "Related Services" section of the Inprotect page.
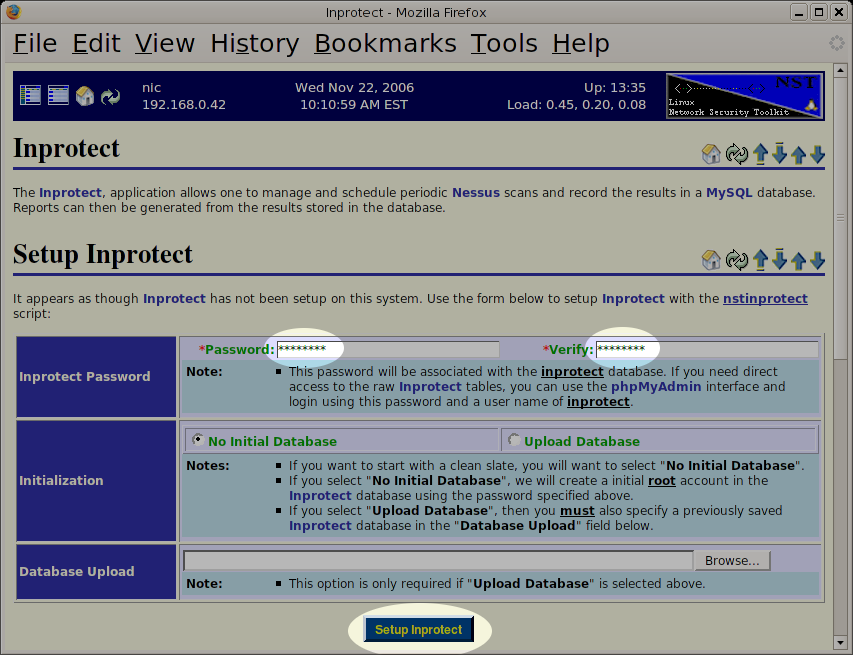
To setup and start Inprotect, we'll choose and enter a password (twice) into the password fields and press the button to bring up Inprotect.
Having pressed the , we will be taken to a page which indicates that the process of setting up Inprotect was "successfully started".
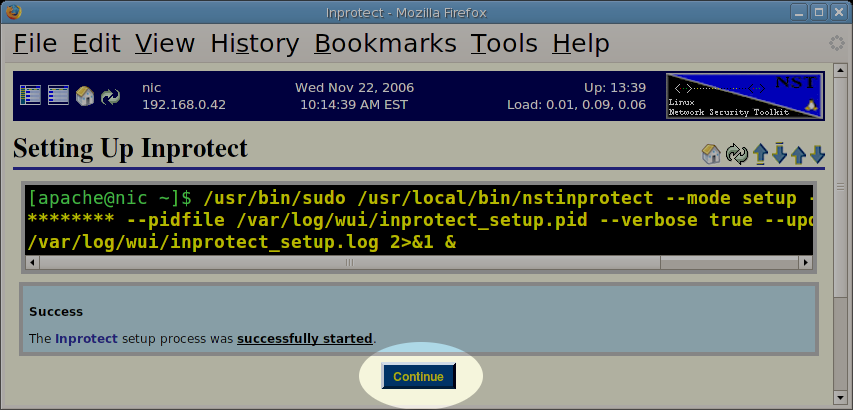
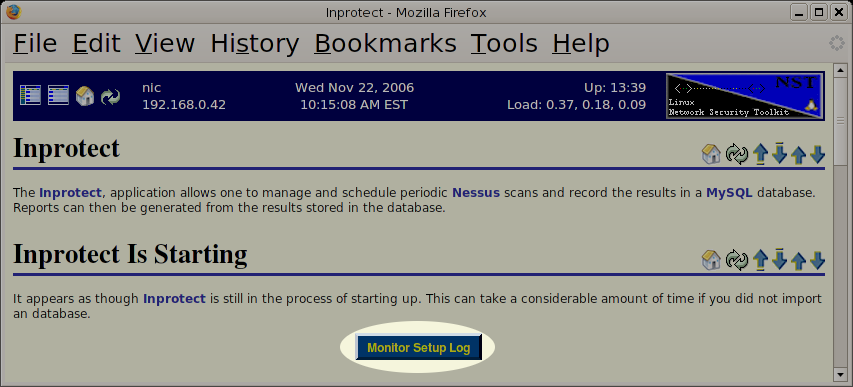
Unfortunately, the process of starting up Inprotect can take a long time. We won't need to do anything during this time period (other than be patient). We can monitor the setup process by selecting the button.
After waiting for what seems to be an extremely long time, we will finally get past the "updating plugins" stage. We will see a message stating: "inprotect setup complete". At this point we will press the button to return to the Inprotect page (NOTE: The button may be labeled in the final release).
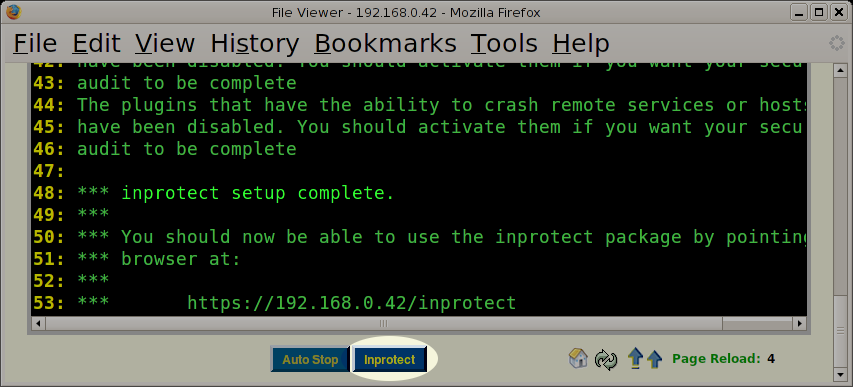
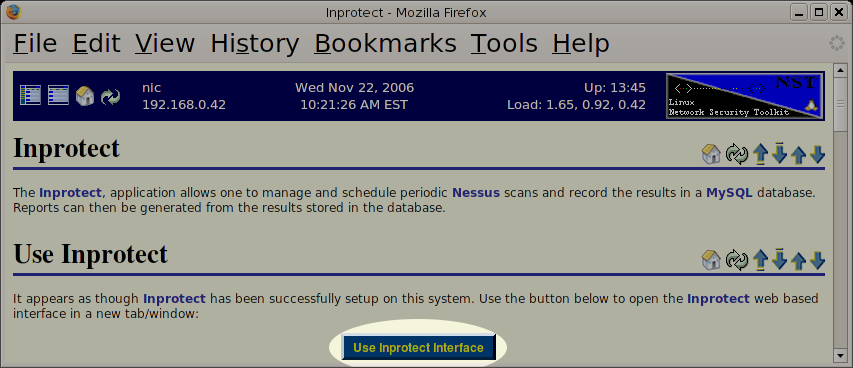
Upon return to the Inprotect page, we should find that Inprotect has been successfully setup.
Congratulations! Once the button appears, it means that one has successfully completed the process of setting up Inprotect and can proceed to the "Using Inprotect" section.