Now, that you have Inprotect and the related services setup and running on your NST probe, you are ready to begin using the Inprotect interface.
This section only provides the bare minimum information for getting started with Inprotect. In particular, the following items are covered:
Once Inprotect has been successfully setup on the NST system, one can use the Inprotect web based interface by selecting the button on the NST Inprotect page.
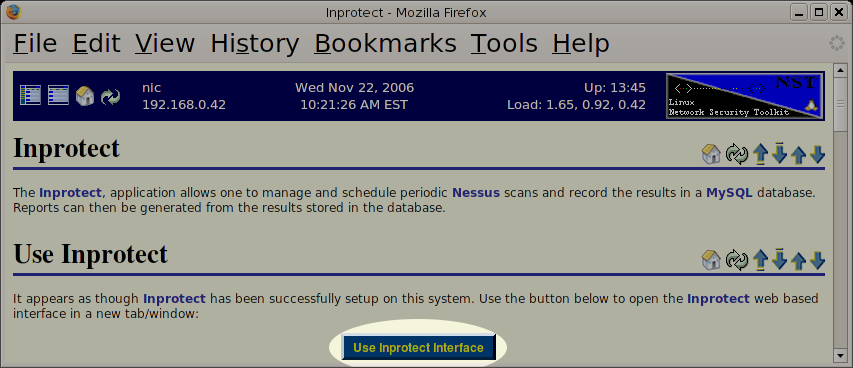
Selecting the button above will open the following login page in a new tab or window.

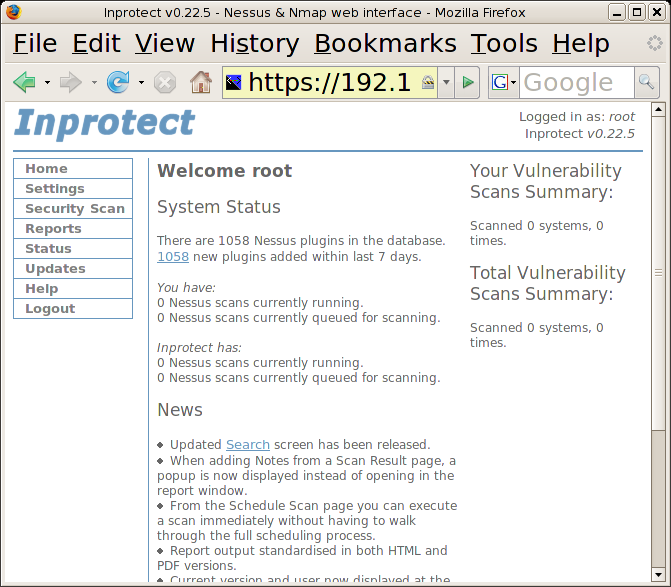
We will enter "root" as the "Username" and the password we
specified when we setup Inprotect. We
will then press the button to login. This will take us to the
Inprotect page.
Before we can start running and scheduling network vulnerability scans, we will need to configure Inprotect. This is done by selecting the "Settings" link from the left side navigation bar. Selecting the "Settings" link will take us to the following page.
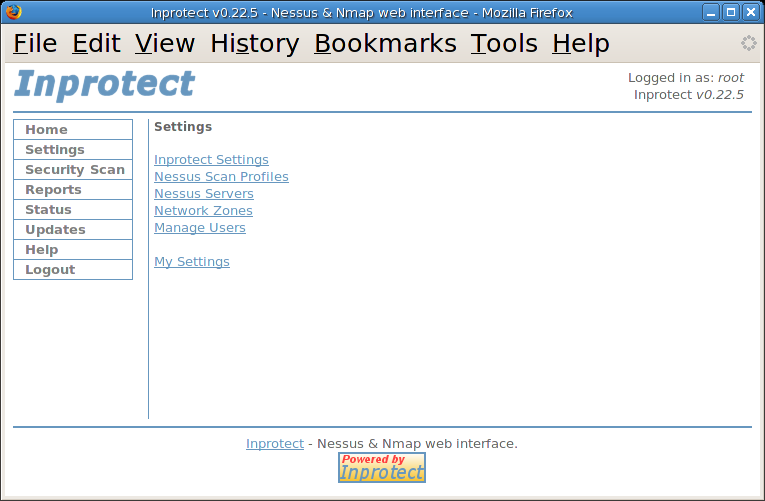
From here, we will select the "Inprotect Settings" link to verify and/or adjust the basic settings.
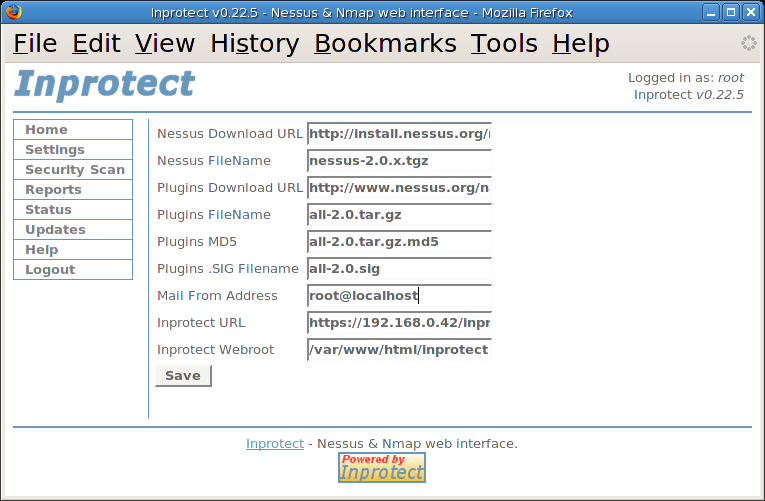
Most likely, we will need to adjust the "Mail From Address" field and then press the button. After saving our changes, we will then select "Settings" again to return to the main settings page.
From here, we will select the "Nessus Scan Profiles" link to create a new scanner profile.
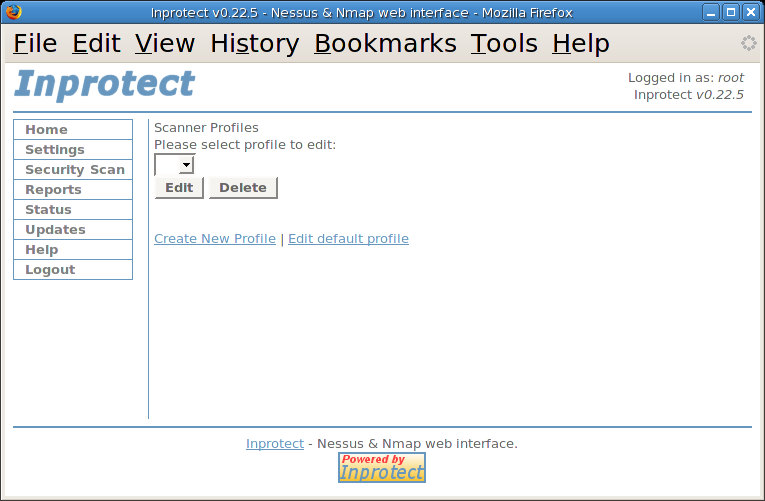
We will select the "Create New Profile" link to create our new scanner profile.
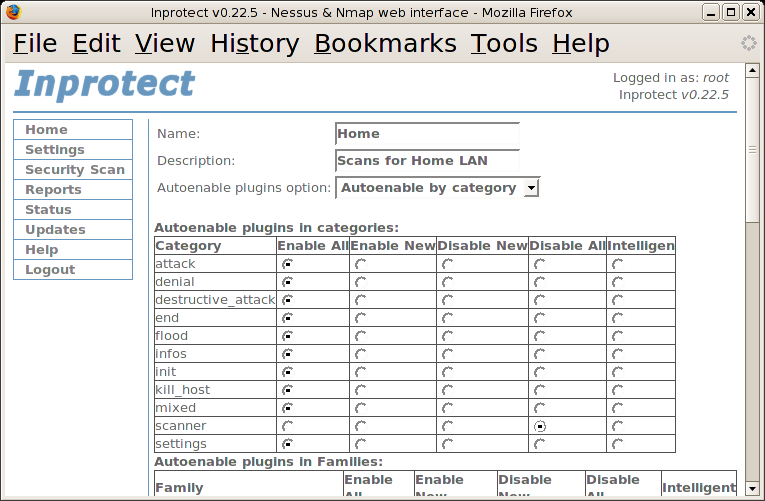
After filling in the "Name" and "Description" fields, we will set the "Autoenable plugins option" to "Autoenable by category" and enable all categories EXCEPT for the "scanner" category. We will disable the "scanner" category for now as it tends to take a long time to run. After scrolling to the bottom of this page and pressing the button, we should see the following page:
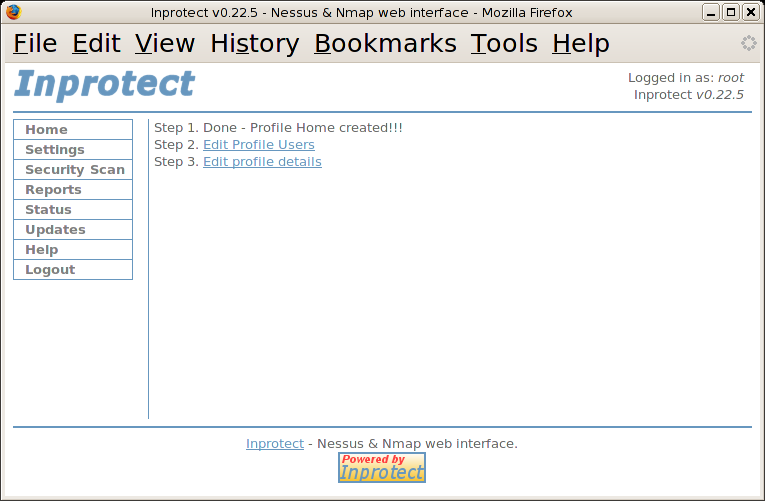
The output above indicates that we've completed step 1. We
are not going to worry about step 2 at this time (as the
"root" user was automatically added to the
profile for us). Also, we will skip step 3 for the time being
and use the default scan settings.
We will select the "Settings" link again and return to the main settings page.
We will select the "Nessus Servers" link and verify that the Nessus server running on this NST system is configured and on-line. The following will be shown indicating that Inprotect is able to communicate with the local Nessus server.
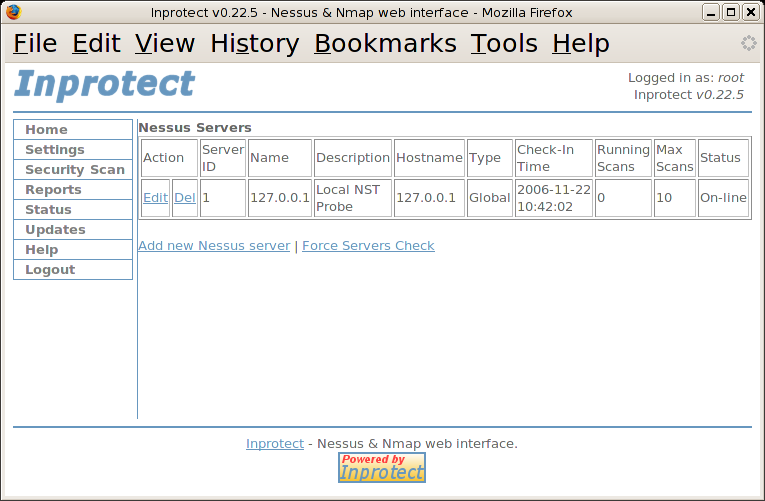
The "On-line" status reported above tells us that Inprotect is able to communicate with our Nessus server. Since we don't have additional Nessus servers available to us at the moment, we will select the "Settings" link again and return to the main settings page.
Inprotect requires that one setup at least one "Network Zone". These zones are used to restrict what systems each user account is able to scan.
We will select the "Network Zones" link which will take us to the following page.

We will then select the "Add new zone" link which will take us to the following page:
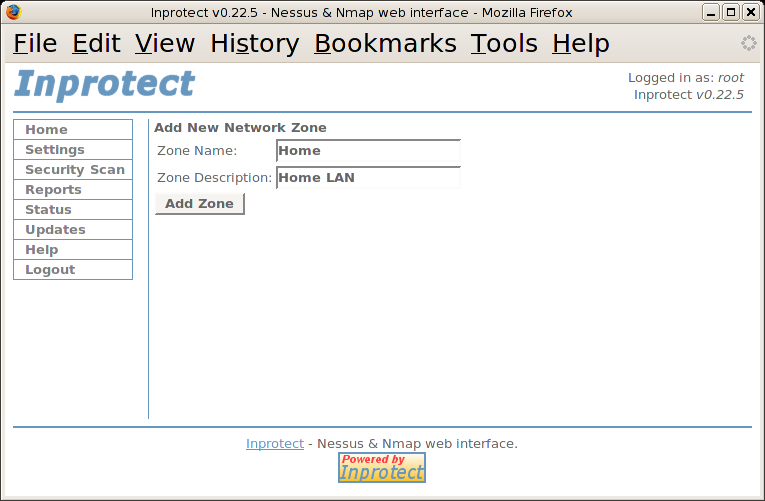
After filling in the "Zone Name" and "Zone Description" we will press the button. We should then see the following page:
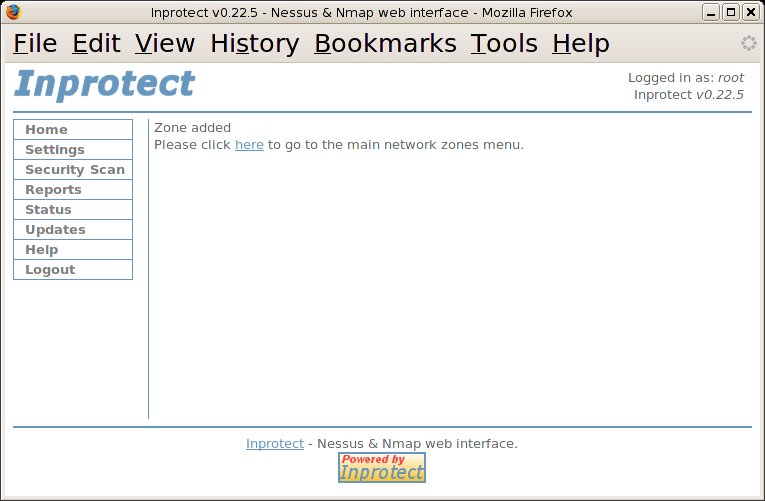
After seeing that our zone was added, we will click on the "here" link which will take us to the following page:
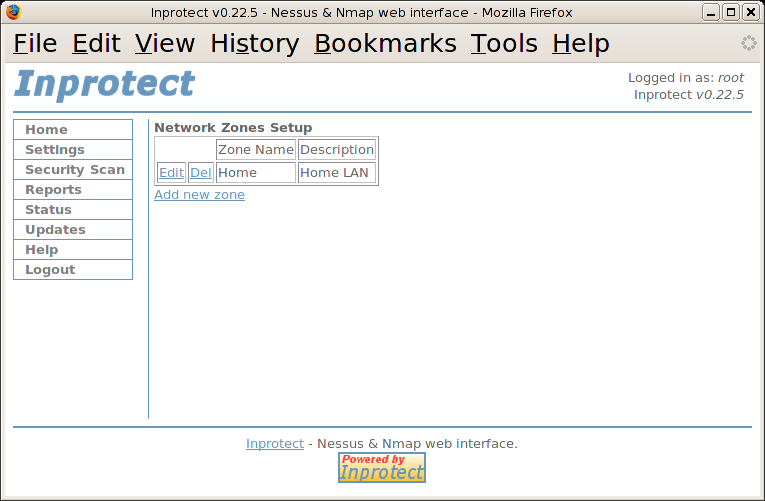
Before a zone can be used, one needs to specify a collection of 1 or more IP ranges (like: 192.168.1.1 to 192.168.1.12) indicating what IP addresses are legal for the zone. Also, one needs to specify what user accounts are permitted to make use of the zone. This permits one to configure Inprotect with rules like: "Bob is only allowed to scan his own machine" and "Alice and Joe can scan any machine on either the 192.168.0.0/24 network or 192.168.10.0/24 network".
We'll select the Edit link next to our new zone. This will take us to the Edit Zone page shown below:
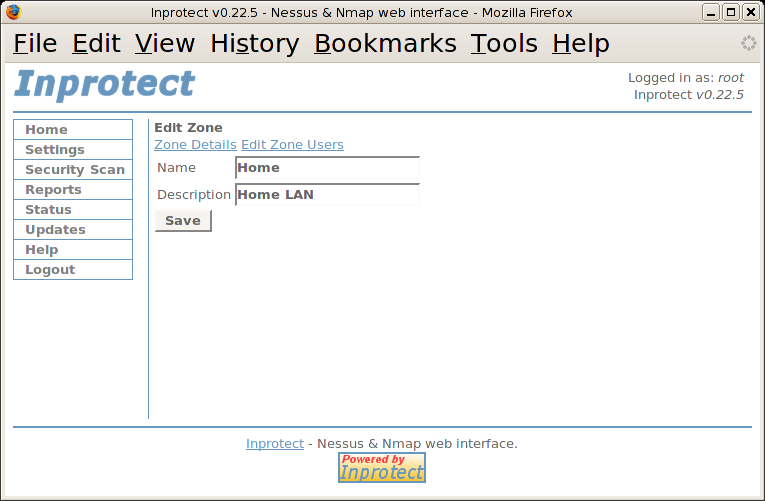
From this page, we'll select the Zone Details link. This will take us to the Home Zone Details page shown below:
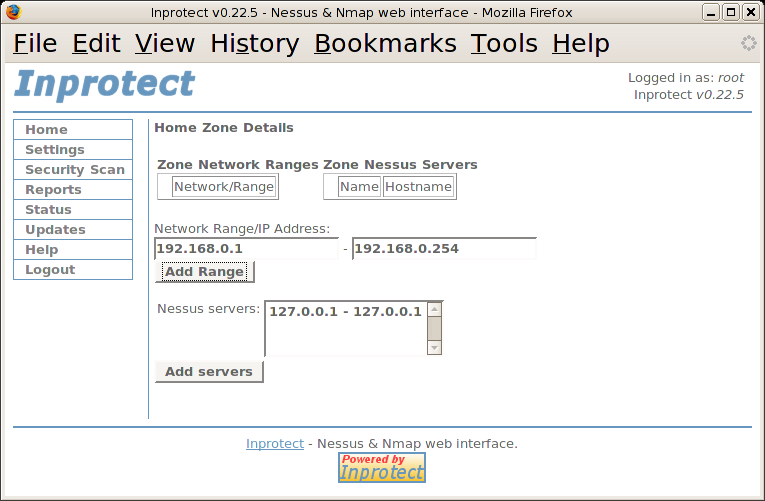
At this point we'll specify a IP address range from "192.168.0.1" to "192.168.0.254". We'll then press the button.
Note
When you schedule your network vulnerability scans, you will be able to specify a subset of the IP addresses within the zone.
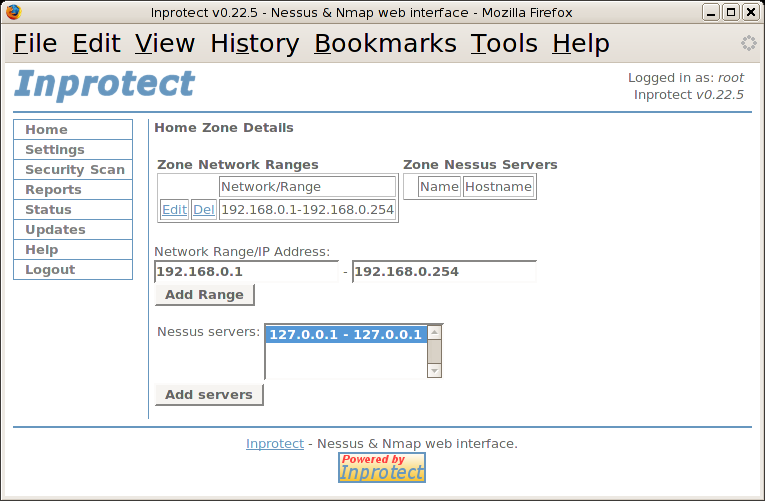
After adding a "Network/Range" to our zone,
we'll to add a Nessus server. Since
there is currently only one server to choose from, we'll select
it (127.0.0.1) and press the button.
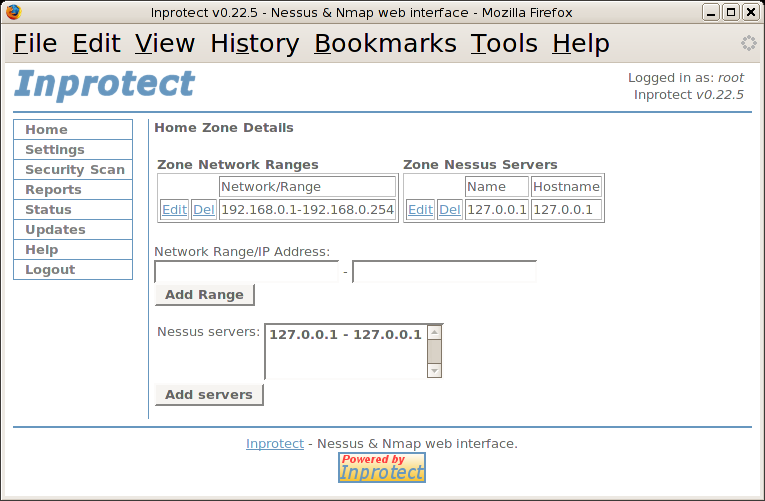
At this point our zone configuration is complete (we can skip the zone users for now as we only have a single user account and Inprotect will add it to the zone by default).
Once again we'll press the "Settings" link to return to the main settings page.
We'll then select the "My
Settings" link to adjust the settings for the
"root" account.
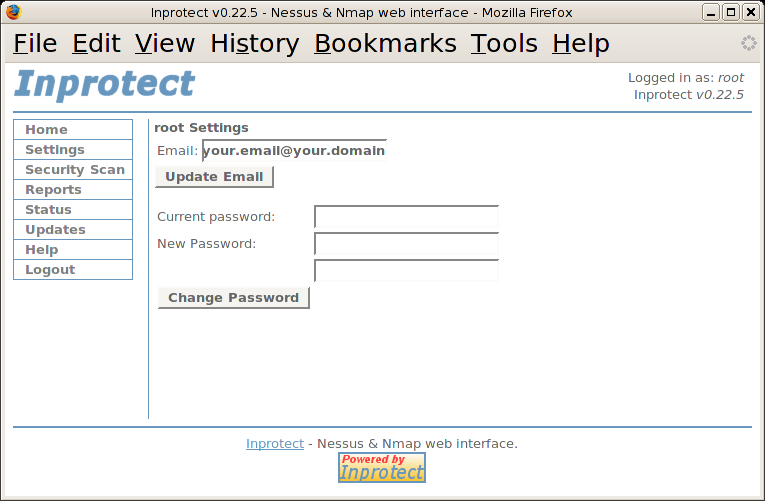
After specifying an appropriate email address in the "Email" field, we'll press the button.
Congratulations! All of your hard work is about to pay off - at this point you should have a fully functional setup and be ready to start scheduling network vulnerabilty scans.
Now that we configured our Inprotect system, let's add a schedule entry to perform a nightly network vulnerability scan of several systems. To do this, we'll need to select the "Security Scan" link which will take us to the "Security Scans" page shown below:
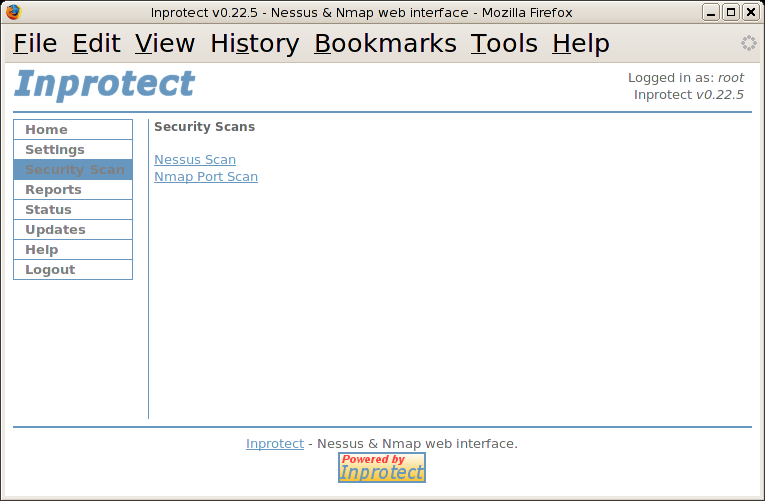
We'll select the "Nessus Scan" link to schedule our new scan. This will take us to the "Nessus Scans" page shown below:

Currently, there aren't any scans in our schedule table. We'll select the "New Schedule" link to create one.
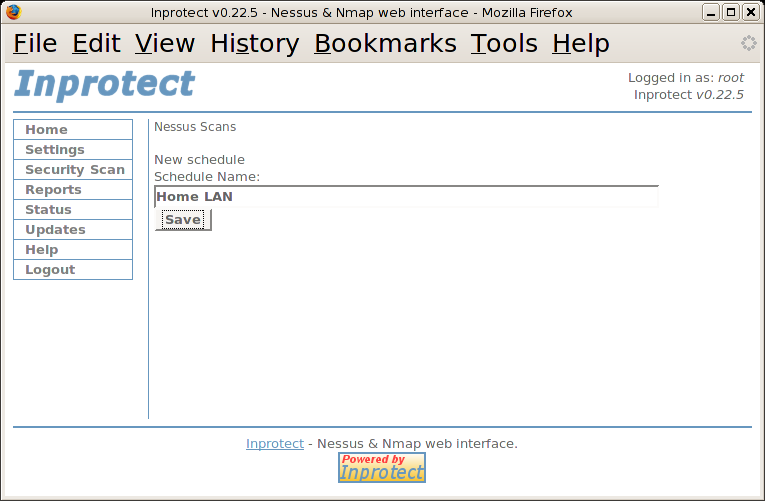
We'll specify a name for our new schedule entry in the "Schedule Name" field and then press the button. This should take us to the page shown below and indicate that the new schedule was created.
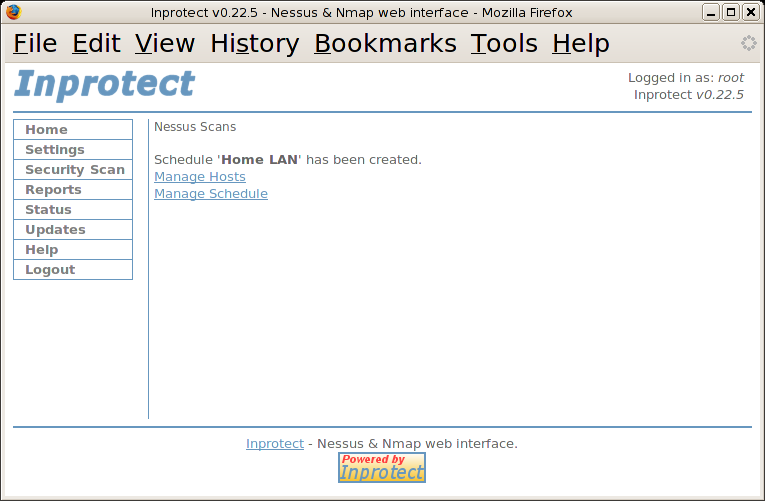
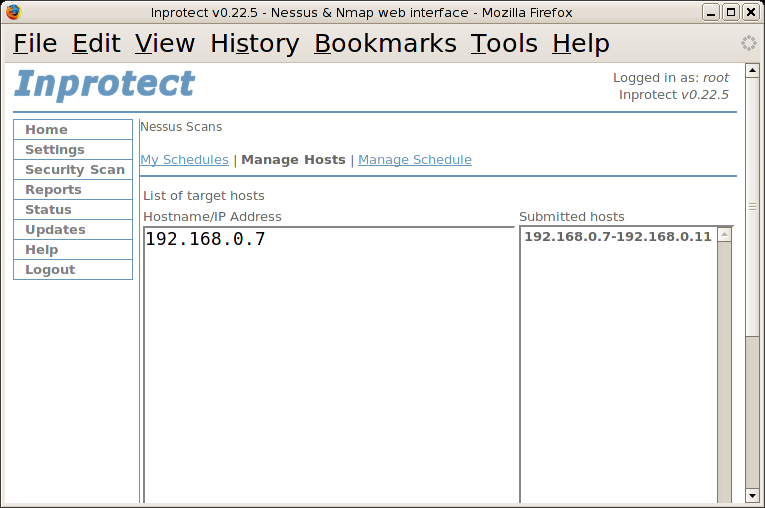
We'll select the "Manage Hosts" link which will take us to the page that allows us to specify which hosts we want scanned.
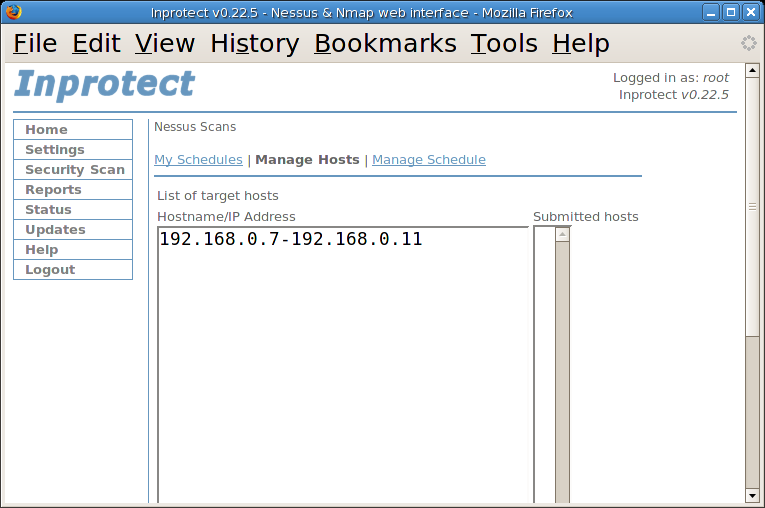
At this point we can specify what hosts we would like
scanned. In this example, we've entered the range
"192.168.0.7-192.168.0.11" which will scan 5
systems on the network. After pressing the button (its
lower on the page than shown in the screen shot), we'll see our
new range appear in the "Submitted Hosts" section of the
page as shown in the following screen shot.
Note
The IP addresses specified must ALL be within the bounds of the Network Zone we previously configured.
Now that we've indicated which hosts should be scanned, we'll select the "Manage Schedule" link to specify how often we want the systems scanned. The link will take us to the following page:
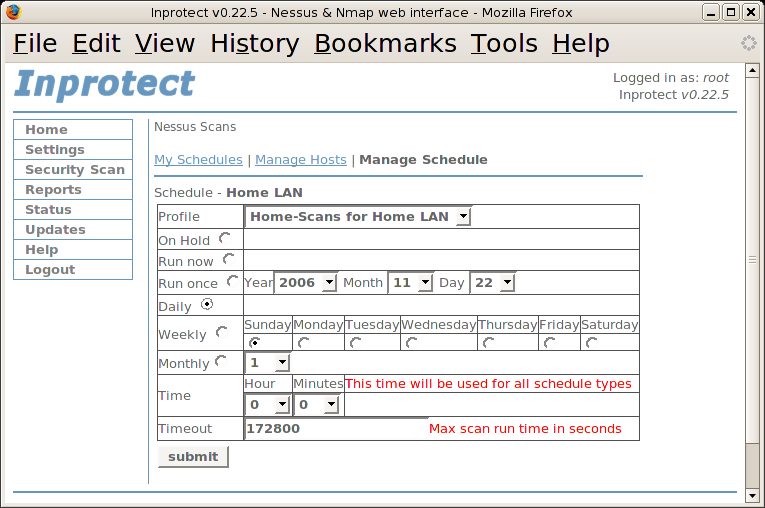
We'll go ahead and select the "Home-HOME LAN" profile which we created earlier in the configuration process (your profile might have a different name). We'll then select the "Daily" radio button so that our network vulnerability scans will be run once a day. Finally, we'll press the button to add the new schedule entry.

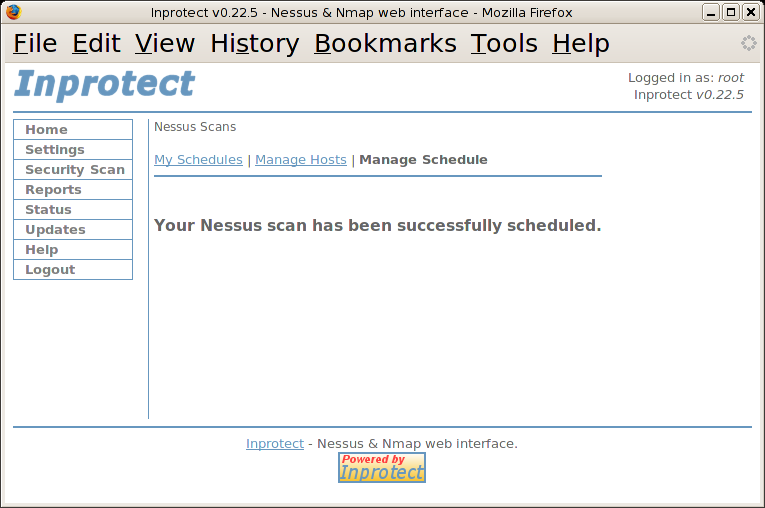
After seeing the message indicating that our Nessus scan was successfully scheduled, we'll select the "My Schedules" link to review the current schedule table.
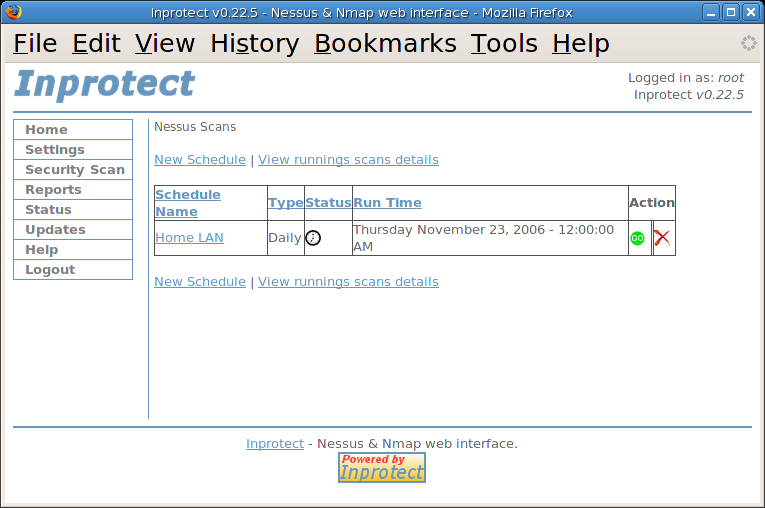
The schedule table shows us that our new Nessus scan will be run once daily (starting at midnight). We'll go ahead and press the green "Go" icon to force the network vulnerability scan now.
Note
By being impatient and pressing the green "Go" button, we will be permanently changing the schedule entry. If we want this scan to occur daily, we'll need to edit its schedule table.
After seeing that our scan was successfully scheduled, we'll select the "Security Scan" link to take us back to the main "Security Scan" page.
While our Nessus scan is running (they take awhile to complete), we'll go ahead and perform a port scan. We'll select the "Nmap Port Scan" link which will take us to the "Nmap Port Scan" page shown below:
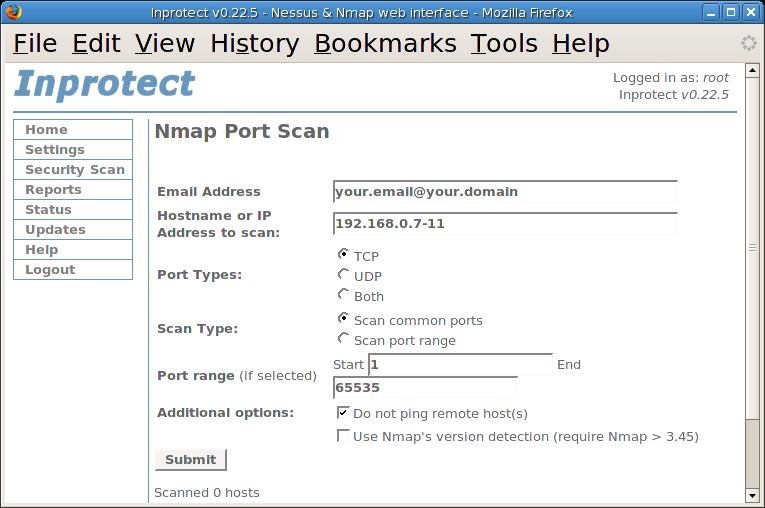
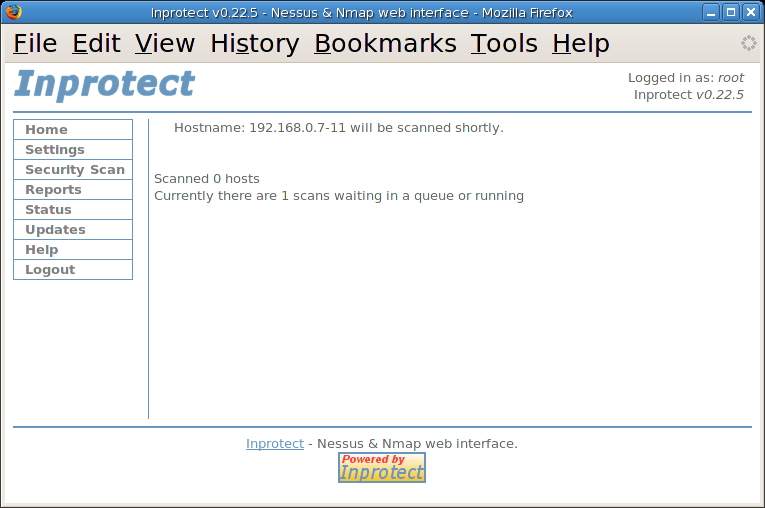
After specifying a email address and range of IP addresses to scan, we'll press the button to schedule the scan. This will take us to the page indicating that our port scan was successfully scheduled.
Congratulations! We've completed the task of scheduling and running a Nessus network vulnerability scan and a Nmap port scan. We reached the point where we should start seeing some results.
One of the beauties of Inprotect is that it stores the results of every scan in a database. This permits one to review and compare the historical results of all of the network vulnerability and port scans performed by Inprotect.
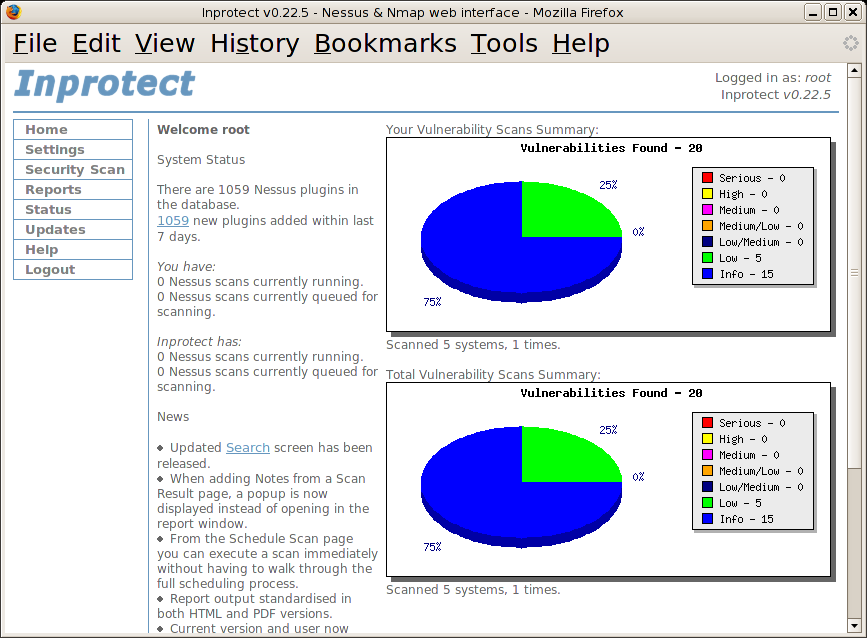
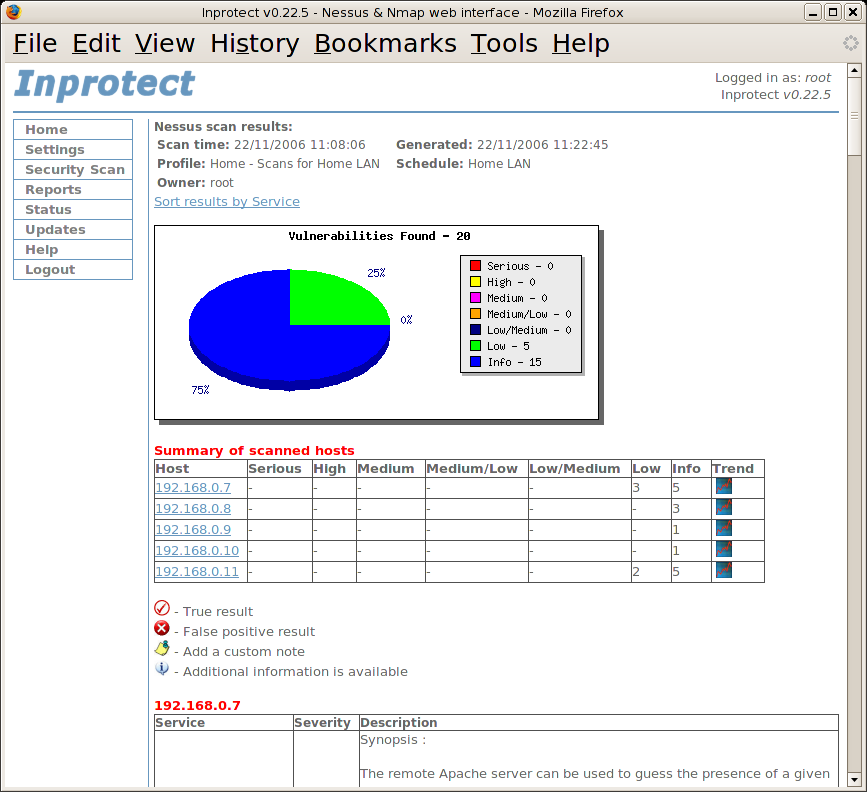
In the previous section, we went through the steps of scheduling and performing a Nessus scan. Once the scan completes, we will see nice summary graphs on the Inprotect home page similar to what's shown below:
From the home page, we'll select the "Reports" link. This will take us to the "Reports" page shown below:
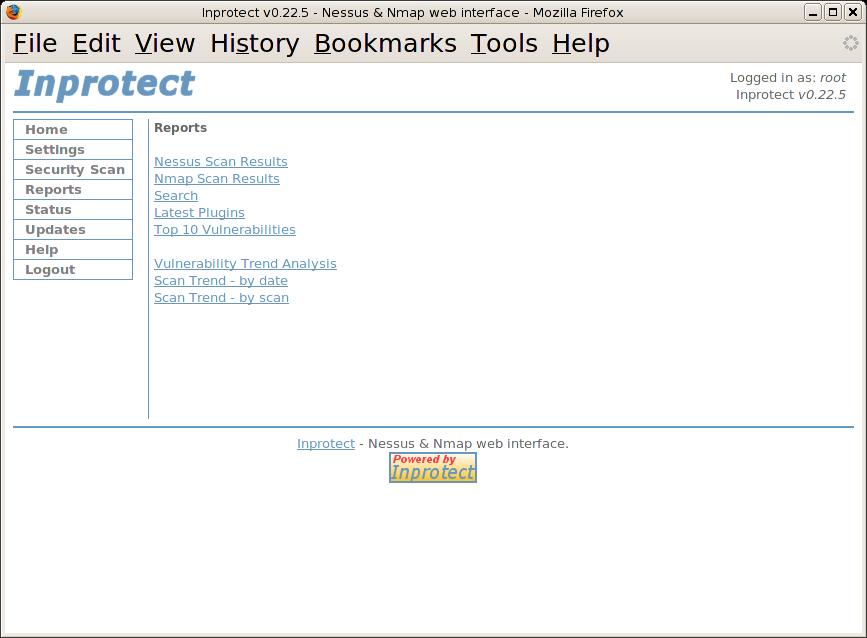
From the the "Reports" page, we'll select the "Nessus Scan Results" link. This will take us to a page listing the all of the Nessus network vulnerability scans run by Inprotect.
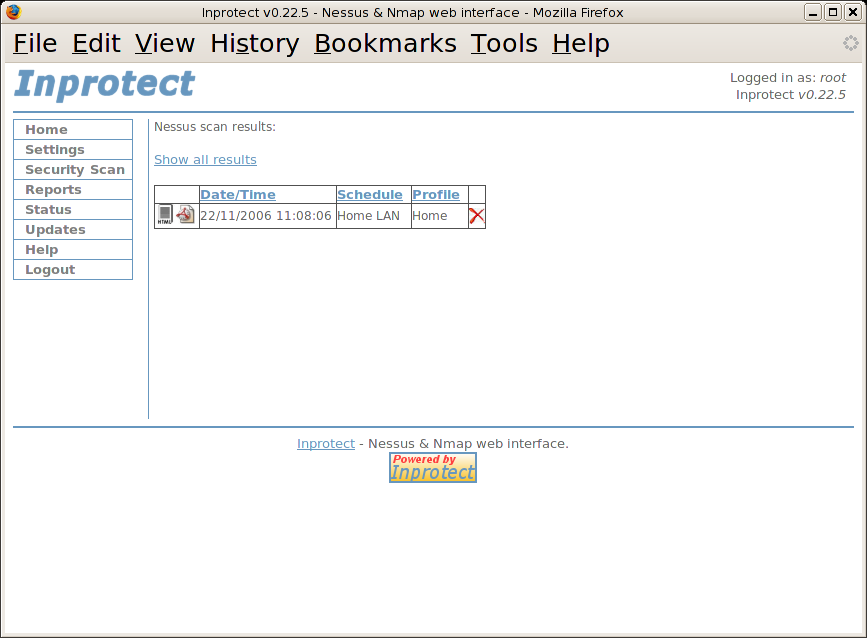
From the table of available reports, we will click on the "HTML" icon to view the detailed results of a particular scan.
Note
Reports are available in PDF output as well!
After reviewing the results of the scan, we'll select the "Reports" link again to return to main "Reports" page.
From the the "Reports" page, we'll select the "Nmap Scan Results" link. This will take us to a page listing the all of the Nmap port scans run by Inprotect.
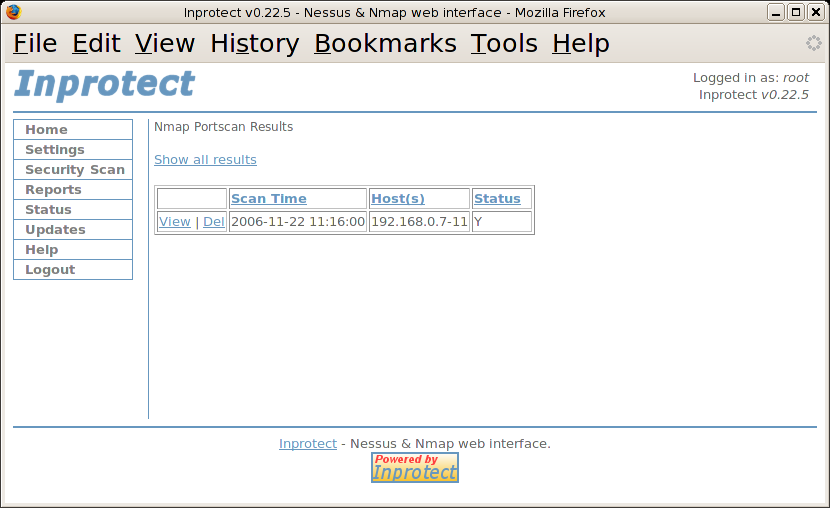
From the table of available reports, we will click on the "View" link to view the detailed results of a particular port scan.

After reviewing the results, we'll select the "Reports" link again to return to main "Reports" page.
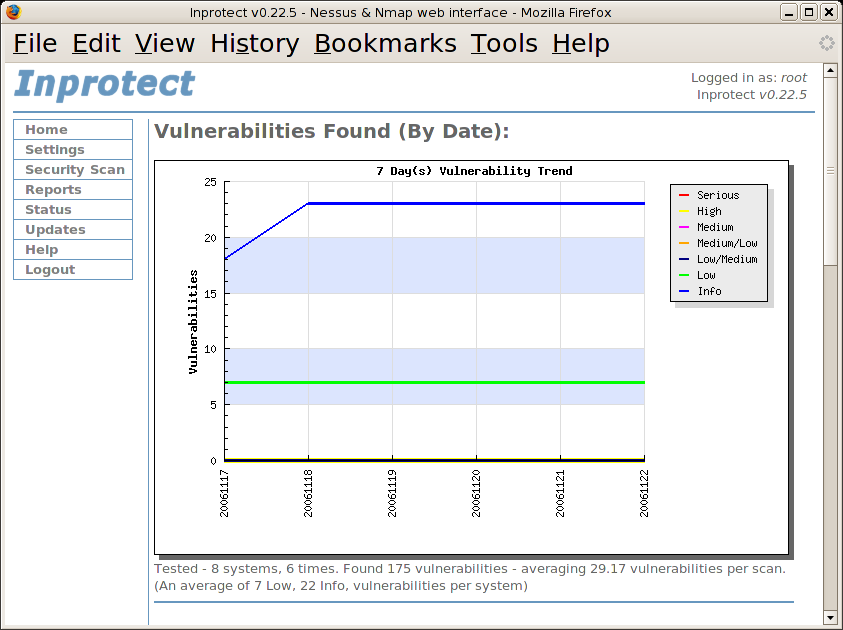
From the the "Reports" page, we'll select the "Scan Trend - by date" link. This report allows one to quickly identify changes in the number of network vulnerabilities found over time.
Note
The report shown below was generated after we let our system run for several days.
There are many other reports and queries that can be done in Inprotect. We have only touched on a few of them - enough to verify that our setup is working.